
.
A cosy craft project
I felt like all my Christmases had come at once when my Knit & Stitch package landed on the doorstep last week.
Wow, there was copious amounts of gorgeous wool; knitting needles galore; a lovely knitting bag and a cavalcade of exciting new projects to try. I just need to find some time to give them a go!
The beauty of knitting and crochet is that you can do them anywhere, anytime. So, I will be dabbling with the needles whilst snuggled on the sofa watching to latest episode of Wonders of Life (though I don’t know if I can understand both at the same time!)
As you can see from my profile pic, I LOVE scarfs and shawls and so my first project is going to be this gorgeous knitted shawl from issue one.
Knit & Stitch Collection fringed shawl
A soft mohair yarn is used to knit this shawl – using three strands together to produce a thick, but lightweight, fabric. Fringing and tassels trim the outer edge. So chic!
Materials and stitches used: Col. Violette: 6 balls Type: Angel 44% polyamide, 32% acrylic, 24% mohair 25g/275m Stitch Used: stocking stitch Needles: 4.5mm
Size: 93 x 143cm.
Tension: 15 sts x 19 rows in stocking stitch using 4.5mm needles = 10cm square note: Use 3 strands together throughout the shawl. Wind 3 balls together before using to obtain an even finish.
To make: Using 4.5mm needles and 3 strands of yarn together, cast on 3 sts. Work in st st, inc 1 st at each edge (1 st in from edge) on every rs row 68 times. 139 sts.
Cont in st st, dec 1 st at each edge of every rs row 68 times as foll: k1, k2tog, work to last 3 sts, sl 1, k1, psso, k1. Cast off rem 3 sts.
Tassels: To make a tassel of 8cm, wrap yarn around cardboard 33 times (see the instructions, right), attach to one corner of the shawl. Make 3 more tassels and fix to each remaining corner.
Fringe: To make a fringe of 4cm, wrap yarn around cardboard 12 times. On each side of the shawl, between the tassels, tie 30 fringes at approximately 2cm intervals.
Making a tassel
1 Cut a piece of cardboard 2cm longer than the intended tassel. Wind the yarn lengthways 20 to 40 times around the cardboard, depending on the size of the tassel you require.

2 Thread a length of yarn onto a tapestry needle and slip the needle under the loops along the top edge.
3 Remove the needle and tie the ends firmly, gathering the loops of yarn together. Wind a length
of yarn about 1cm from the tied-off end of the tassel, tie firmly and hide the ends on the inside of the tassel.
4 Finish off by cutting through the yarn loops at the bottom of the tassel, then trim the ends even.
Making a fringe
 1 Cut a piece of cardboard 2cm longer than the intended fringe. Wind the yarn around the cardboard, then slip scissors between the yarn and the cardboard and cut through the base of the loops. This will ensure that the strands are all the same length.
2 Insert a crochet hook from wrong side to right side through the knitted edge. Fold a hank of strands in half and place them over the hook, then pull from the wrong side through the fabric to form a loop. Pass the remaining ends of the yarn through the loop and pull firmly. Form the rest of the fringe in the same way, spacing the knots at regular intervals; trim the ends even.
Click the link for more information on the Knit and Stitch Collection


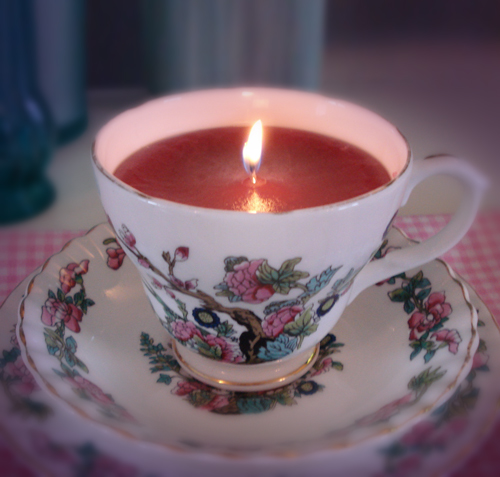
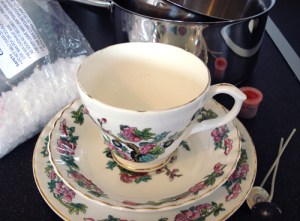 Teacup and saucer